


Introduction
One of the common scenarios while working with Power Apps is to call power Automate which can connect to multiple lines of business and process data within the flow and return it back to Power Apps. Returning back a single string of data is a straightforward implementation, but there would be scenarios where we would like to return multiple rows of data back to power apps from Power Automate.
In this article, we will see how to return multiple rows of data from Power Automate to Power App as a JSON object and display it as a multi-line Gallery.
Scenario
Let’s consider a situation where you have a Power App that has a drop-down with Months ranging from January to December. On Selection of a month, we would like to query a SharePoint List and fetch all the invoice details that were generated for that specific month.
In this scenario, we will try to pass the selected month as a parameter from Power App to Power Automate and Filter the SharePoint List by that month and return the response collection of invoices for that specific month which will be displayed in a Gallery within Power App.
Implementation
Let’s create a blank canvas app by heading over to https://make.powerapps.com/ . We will name it Fetch Invoice Details

We will add a Drop down to the screen and populate it with month values in the Items Attribute.
[“January”,”February”,”March”,”April”,”May”,”June”,”July”,”August”,”September”,”October”,”November”,”December”]

Now let’s add the Get Invoices button and call a Power Automate that will fetch the Invoice details for the specific month selected in the dropdown. So as to create the Power Automate, Head Over to Action-> Power Automate->Create a new Flow

Create Power Automate
It will take us to Power Automate with preloaded templates with the trigger as Power Apps. Let’s select the Power Apps Button template which is an Instant Flow.

We will then add an Initialize Variable action and set its value to “Ask in PowerApps” so that when this flow is called from PowerApps, it will ask us to pass the parameters.

As the next step, let’s add the Get Items action which will fetch the details from the SharePoint List. To Filter the invoice data by month, let’s use the parameter passed on from PowerApps in the Filter query using the OData Expression
Month eq ‘@{variables(‘varInvoiceMonth’)}’

The data returned from the Get Items will contain numerous fields in the JSON Body. So as to pick only the needed fields, we will use the Select action and create a JSON with the columns of choice in the left followed by the expression to pick the corresponding values from the Get items Response Body. The Column Internal Names are used in the expressions to pick the List Item values
Title | item()?[‘Title’] |
Month | item()?[‘Month’] |
Cost(USD) | item()?[‘Cost_x0028_USD_x0029_’] |
Invoice Number | item()?[‘InvoiceNumber’] |
Shipping Address | item()?[‘ShippingAddress’] |

In the final step, we will add a Response action and add the Output of Select action in the Body of the Response action.

We also need to specify the Response Body JSON Schema for which we can use the Generate from Sample option and add the JSON output from the Select action which we will get from a previous run instance.

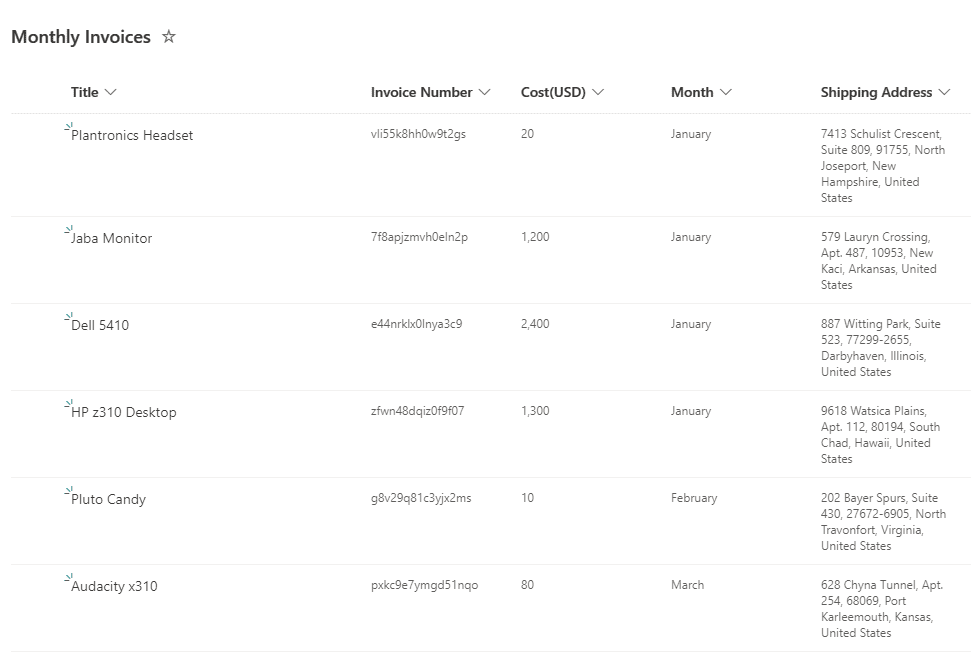
We will copy the first JSON object and add it to the Generate from Sample section. In our case, we will pass the JSON Object as :
[
{
“Title”: “Plantronics Headset”,
“Month”: “January”,
“Cost(USD)”: 20,
“Invoice Number”: “vli55k8hh0w9t2gs”,
“Shipping Address”: “7413 Schulist Crescent, Suite 809, 91755, North Joseport, New Hampshire, United States”
}
]

Click on Done and It will automatically generate the JSON Schema for the response action.

Thus, we are done with the Power Automate Creation and we are passing the data as a collection of JSON objects back to Power App
Consume Power Automate from Power App
Now let’s call the Power Automate Flow from the app by selecting the recently created flow from Actions-> Power Automate

This will add the Flow to the button and in the OnSelect, we can pass the Input Parameter which is the month selected from the drop-down.

Add the Gallery to view Data
So as to show the retrieved collection of data from the SharePoint List, we will add a gallery and set the data source as the response from the Power Automate. So as to set the data source of the Gallery, we will create a collection and copy the data returned from the Power Automate into a collection by using a ClearCollect method and updating the OnSelect method of GetInvoices Button to
ClearCollect(InvoiceCollection,PowerApps_GetMonthlyInvoices.Run(Dropdown_Months.SelectedText.Value))

We will now add the Gallery and set its data source to the Collection we created above.

We will remove the image from the gallery template as we don’t need it. We can head over to the Edit section of the Properties tab to check the mapping of the fields.

As by default we have just 2 fields, we will add 2 more labels to the gallery to show the remaining returned fields

We will also add Labels to indicate the names of the fields to provide more readability and testing it by playing the App will fetch the corresponding details and display as :

Summary
Thus, we saw how we can call a Power Automate and Pass Parameters to it from Power App and use it to filter and return multiple rows of SharePoint List items as JSON which in turn can be shown in a Gallery.
